In this tutorial, we will demonstrate how to enable temporary camera access to students who need to take pictures of their work or an assignment for classroom submission. It is important to make sure that all student iPads, as well as yours (If you are using an iPad for class management) are up to date.
What you will need:
Access to Mosyle Manager. This can we through the application (MacOS and iPadOS) or the browser (best for Windows devices). Let’s get started!
iPad & Macbook/Mac devices:
If you have the Mosyle application, go ahead and launch it now. If you do not, open your web browser and navigate to myschool.mosyle.com and sign in.
PC’s & Other devices:
Open the web browser of your choice and navigate to myschool.mosyle.com and sign in.
Everyone:
- Once logged into Mosyle, you will see a ribbon menu on the bottom with options for Dashboard, My School, etc. Your ribbon may look different depending on your level of access. We want to make sure we are in the iOS/iPadOS menu. On the far left of the menu, you should see iOS/iPadOS selected. If not, click/tap the down arrow and select it now.

- Click/tap the Class Manager icon.
- If you are an Admin, you will see all classes. Teachers should only see their classes. If you see all classes, select the checkbox on the upper right that says, “My Courses”. This will only show classes you are assigned to.
- Select the class you would like to manage.
- For now, we are going to leave all the options alone. We will cover those in a separate tutorial.
- Click/tap “Start class”.

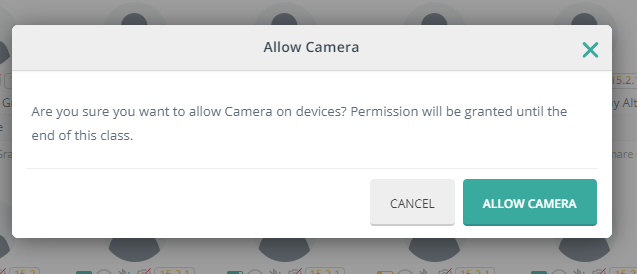
- When the class is finished loading, you will see an option to Allow Camera. Click/tap on this button and tap “Allow Camera” on the popup box.

When finished, you can block the camera by pressing the Block Camera button or ending the class.