Some organizations require locked printing to successfully print documents. This could be due to paper conservation, preventing unauthorized access, or to monitor print quantities. In any case, you may be required to setup your Konica Minolta business printer to accept your print code.
Requirements:
- Your print code, usually provided from Admin.
- Printer already installed with correct print drivers.
If you do not have any of the above requirements, please reach out to us and we will get you setup quickly. This guide assumes you are using Windows 10. Newer versions will have similar steps. Previous versions will need some adjustment to steps.
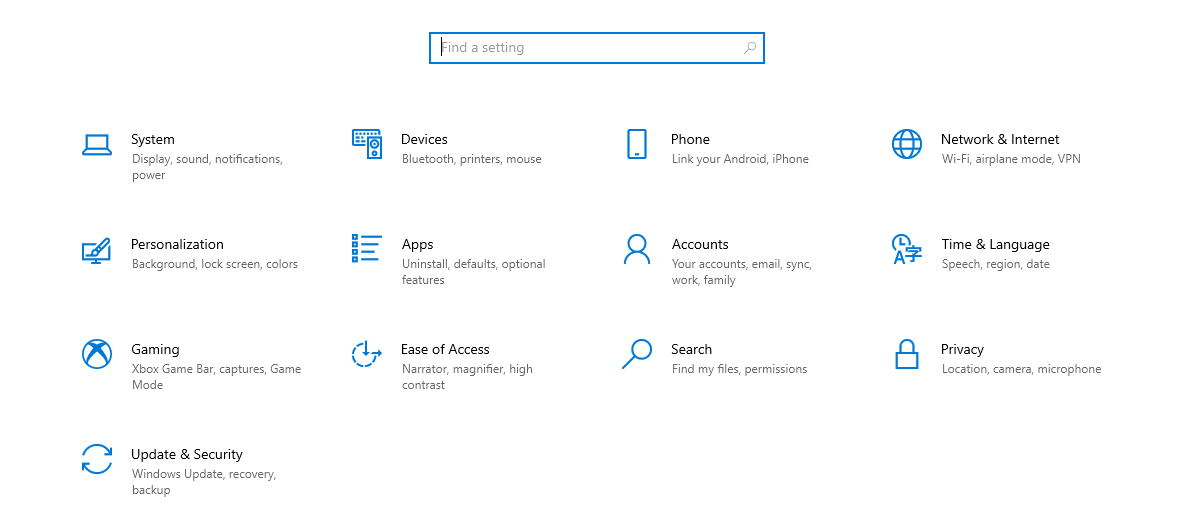
Step 1: Accessing Settings > Devices
- To access Settings, Press the Windows Key + I or going to start > Settings then select the “Devices” menu option.
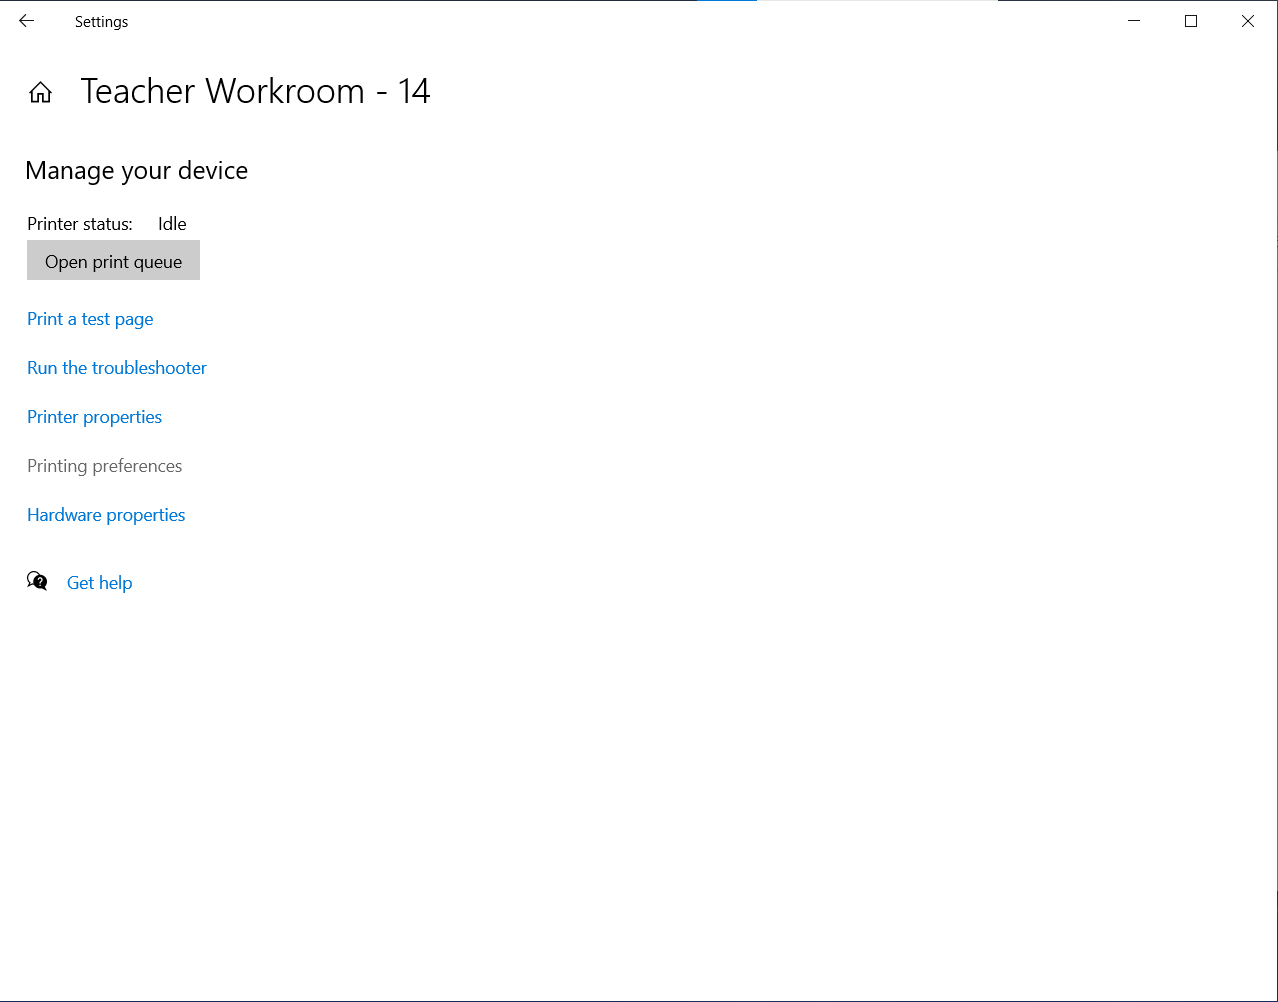
- Select the “Printers & scanners” menu option.
- Select the correct printer by clicking or tapping on the name.
- Click or press “Manage”.

Step 2: Managing printer preferences
- Once the above has been completed, select “Printing Preferences”
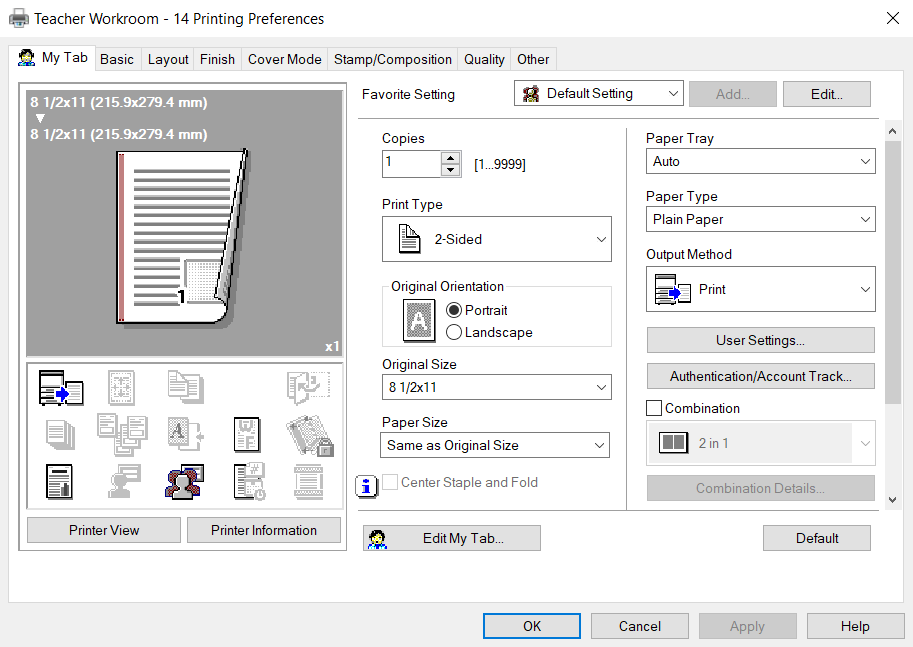
- Click or tap on “Authentication/Account Track". If you do not see this option, make sure the “My Tab” is selected at the top.
- In the password field, input your print code.
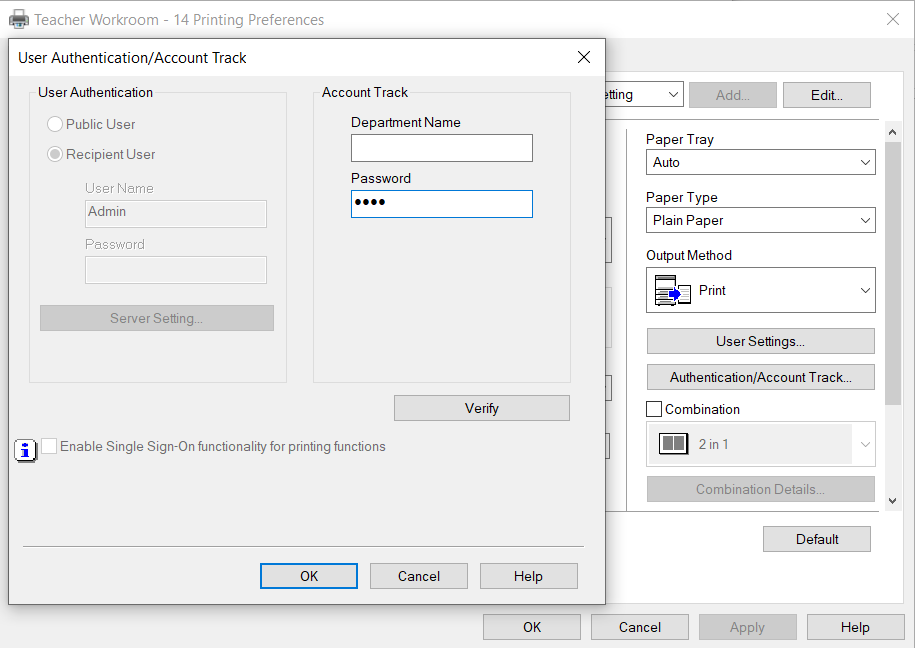
That’s it! Press OK on all the prompts. Your code should now work. You can run a test print to verify the connection is working.